
Cold weather is starting to creep in. We've had a beautiful, warm fall the past couple weeks, and now it is time to turn on the furnace and add an extra layer of clothing. We are tucking in some of our garden plants for the Fall as well.

In August (or was it September) I planted a few seeds of plants that love cold weather. Carrots, green onion, radish, lettuces, pac choi, spinach, mache, and arugula. We could've also planted broccoli, but we are still waiting on this spring's plants to produce the head...so maybe we will see broccoli this Fall. Most of these plants should still be protected when the temperatures dip.
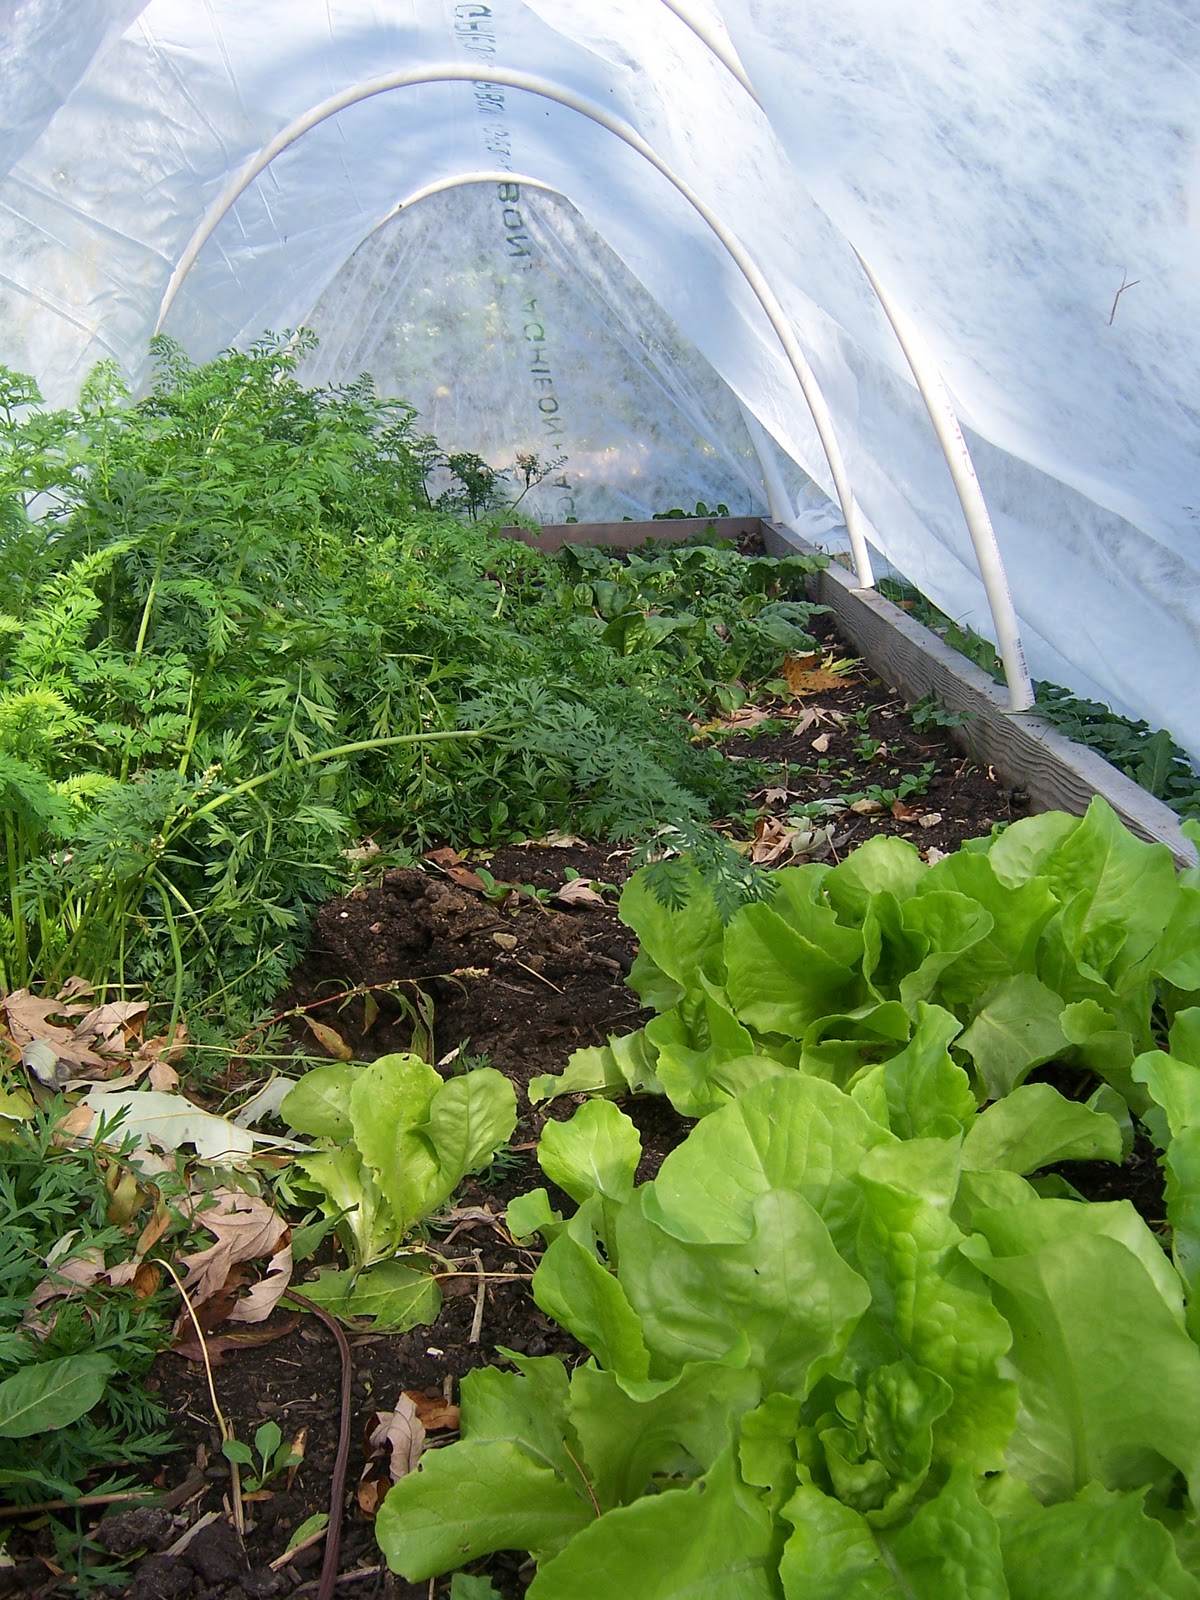
After reading an inspiring article from Mother Earth News, we decided that low tunnels were a good choice for our small homestead. We drilled long screws into the wooden frame of the garden beds, with 4 inches of the screw still sticking up. Attached a PVC pipe and then covered the hoops with fabric. Each 12'x4' bed has four hoops, and we can add more if needed later. To save some money, I repurposed bird seed bags to fill with rocks and hold the fabric to the ground.
Since the growing plants are protected, I was able to remove the garden fence and allow the chickens to stratch in the empty garden beds. Everyone wins!